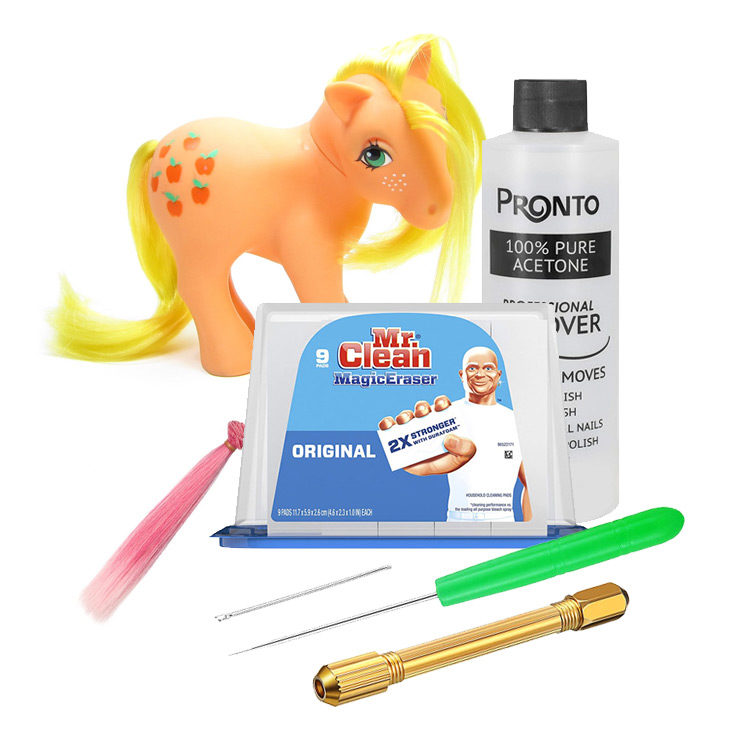
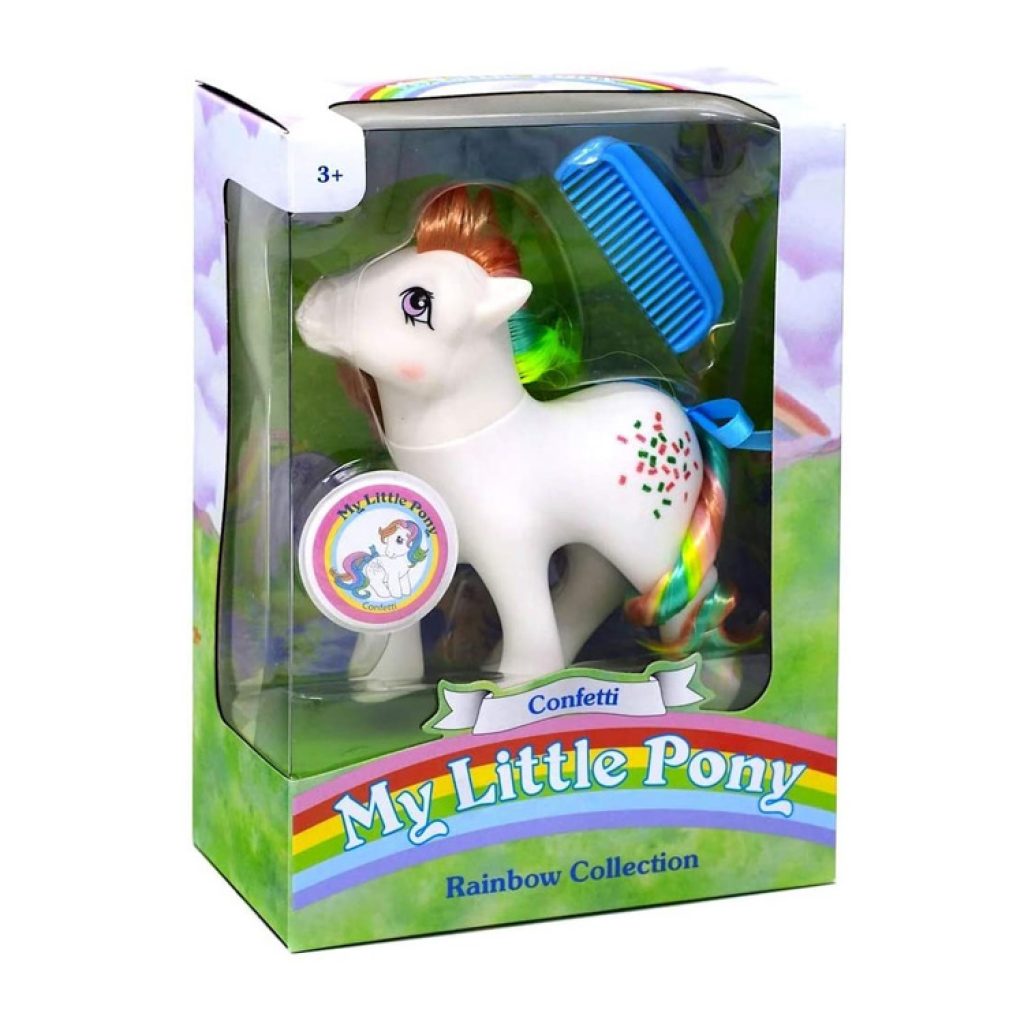
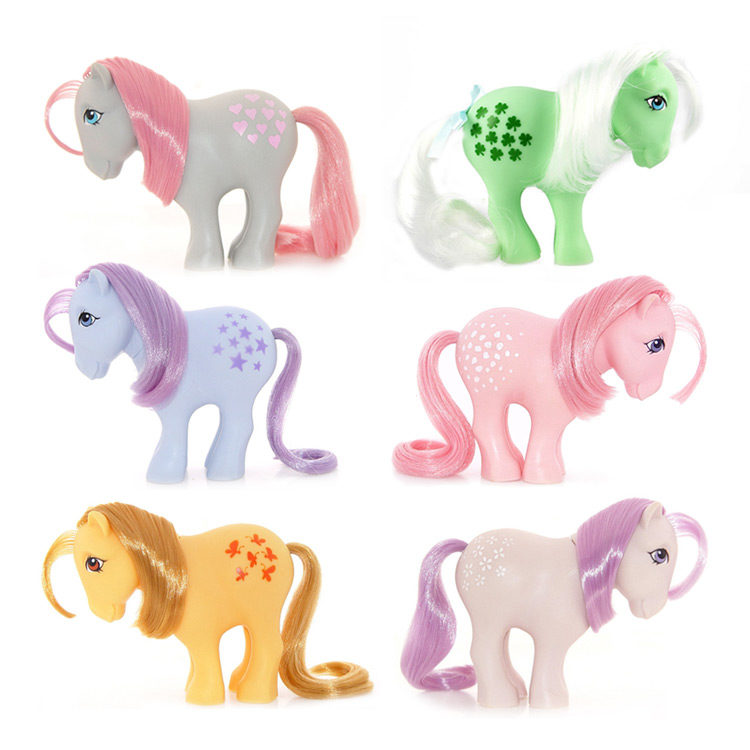
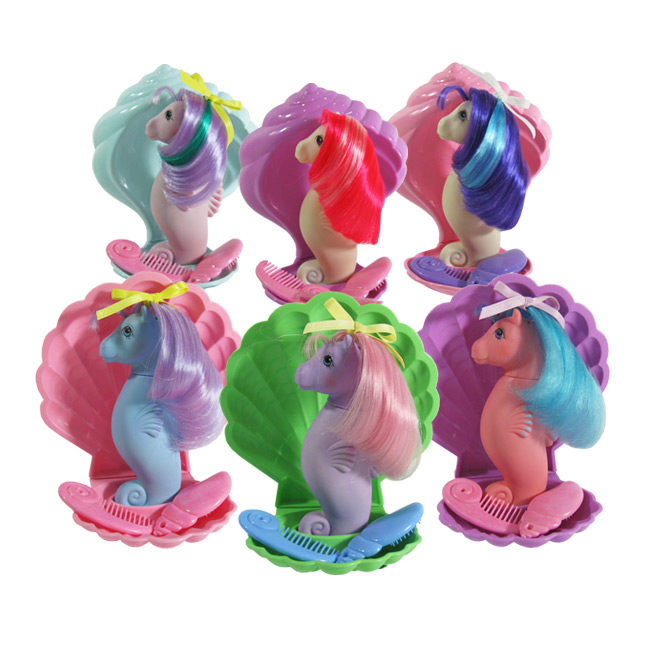
In this article, we cover the basics you will need to restore and repair My Little Pony G1 toys. This includes rehairing and rerooting tools, nylon and acrylic hair, cleaning products such as acetone and peroxide cream, UV light resources to create your own cleaning boxes and much more. The products mentioned here are the ones used by our restorator in the YouTube channel RetroGeek Crafts.
One of the most requested tools for MLP restoration is rehairing and retooling tools. A lot of ponies have suffered from creative young chops or are missing tails. Rehairing is one of the most satisfying activities when it comes to restoring vintage toys — the difference becomes evident very quickly.
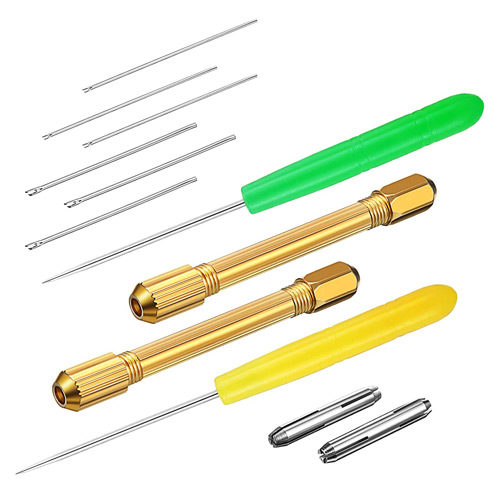
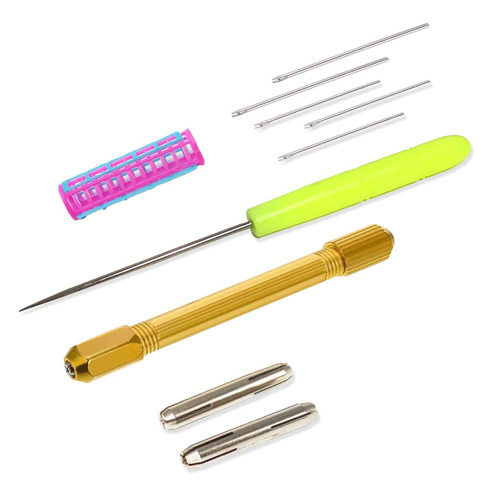
The main element you will need to rehair a My Little Pony toy are re-hairing or re-rooting tools. These consist of a needle with two “teeth” and a handle, and come in large or small sets.
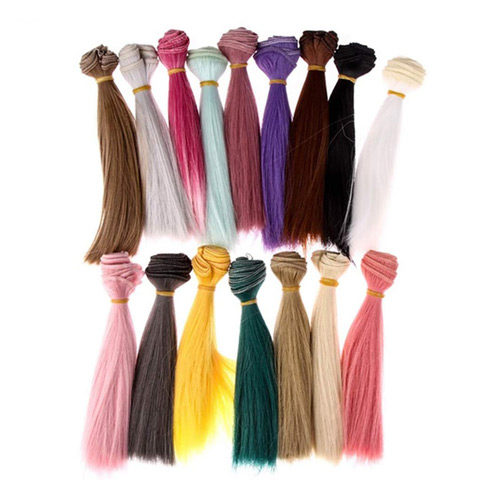
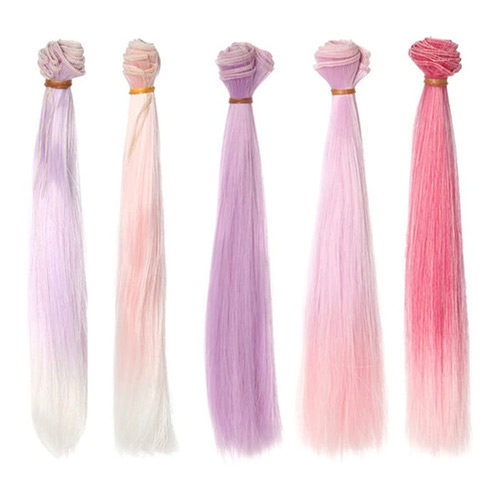
The second thing you will need to rehair My Little Pony is some actual hair. There are two main types of hair you can use: acrylic and nylon. Acrylic is very easy to find and has a real weight to it, however it’s not a perfect match for the original pony’s hair. Nylon, on the other hand, looks exactly the same but it’s a bit more difficult to find. Both are, however, excellent options – it all depends on taste! One important thing, though: To make sure it will fit well, the hair should at least be 25 cm / 9 inches long.
Cleaning a My Little Pony's Body
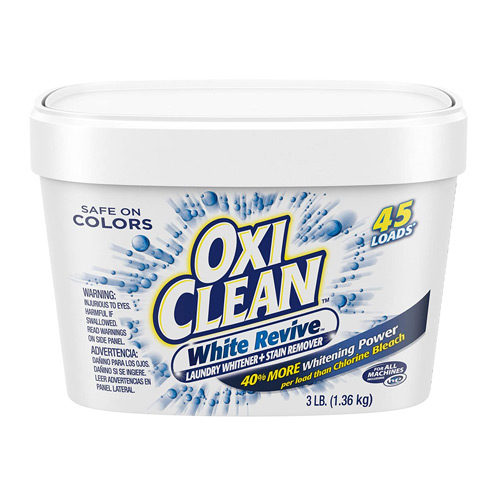
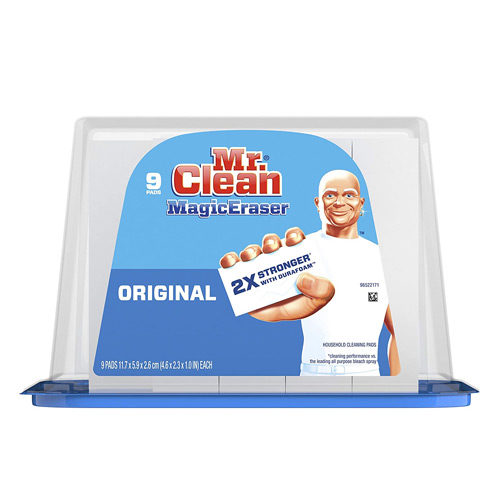
Cleaning My Little Pony dolls is a rather satisfying process! There are several steps you can take to remove different marks and spots. The first step, however, is to wash the ponies using soap and warm water. A faster and excellent choice is also Oxi Clean laundry powder, although this is not recommended for jewelled eyes or glittery symbols. You just put the powder in hot water, and submerge the pony for a couple of hours. Finally, Magic Eraser sponges tend to remove harder spots – but don’t use it on symbols or eyes!
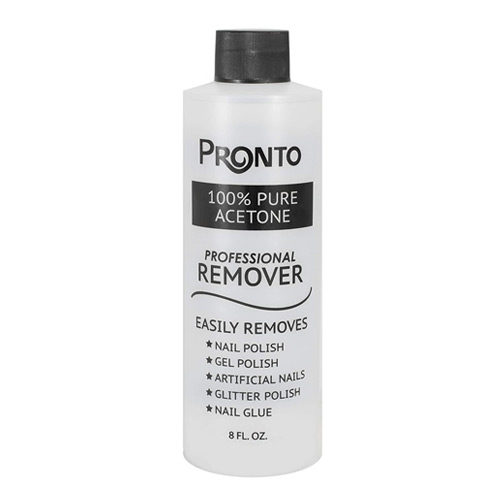
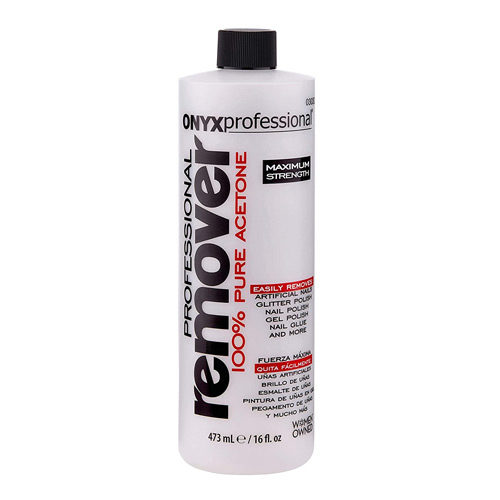
When it comes to removing marks and spots, the best solution is to use acetone. You can use the pure acetone or just a nail polish remover that has it. But one thing is very important: Always wash the pony between applications, you don’t want the acetone to remain on the vinyl because it can damage it.
Sculpting My Little Pony Parts
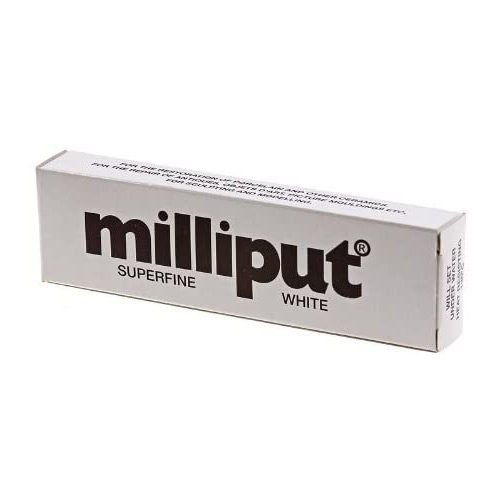
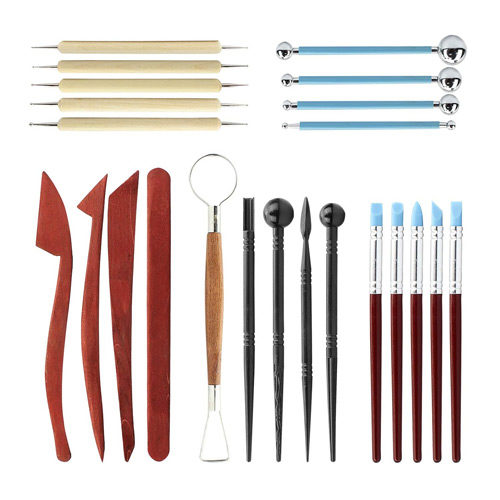
Sometimes, ponies have missing parts like chewed ears or limbs. This might seem like a daunting task at first, but it’s actually quite easy to repair. The material I like to use is epoxy putty (superfine grain). Milliput, for example, is a 2-part self-hardening putty. You can use it as it is, white, and then paint it – or you can actually mix acrylic paint in it! If you want to do some sculpting and repair of holes and cuts, you will also need some sculpting tools. I use both metallic and silicone ones.
Painting My Little Pony's Details
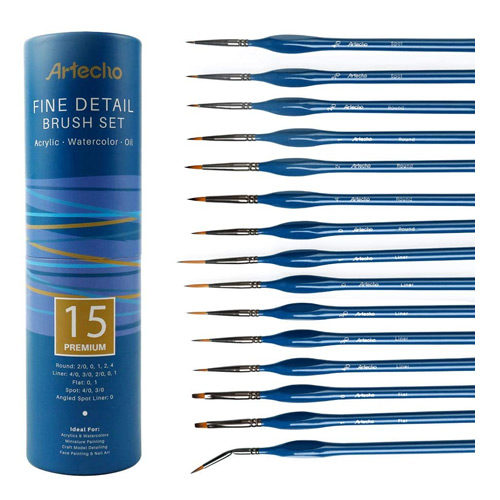
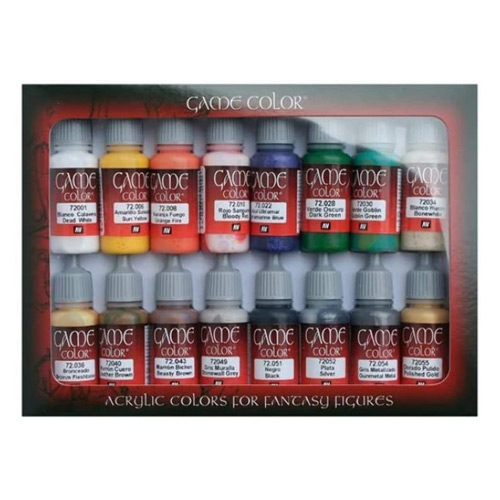
Some ponies need small retouches for the eyes or symbols. The best material to use for these is acrylic paint, due to it being water-based and reversible. A good set of acrylics can cover all your retouching needs; I personally recommend Vallejo colors because they are resistant, vivid and have the perfect consistency. It’s always better to do several thin layers as opposed to one thick one – the paint might crack or look gooey.
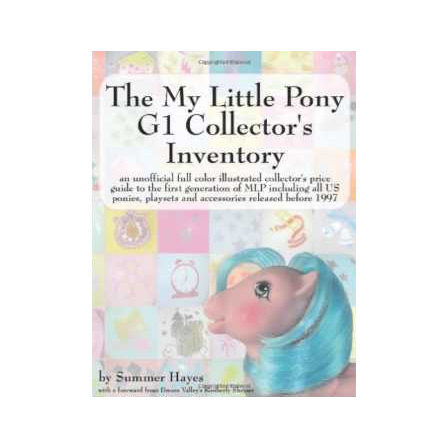
This unofficial MLP guide to the first generation of My Little Pony (known as G1) was created by Summer Hayes. The book provides everything a collector needs to identify G1 ponies and their accessories, and understand their value. The guide contains large, full colour photos of every pony, playset and accessory released in the US (and in some cases in other countries) in the 1980s and 1990s.
Looking for some My Little Pony gift ideas and products? Here are some of our favorite MLP ideas. To see more, click on the button below.
